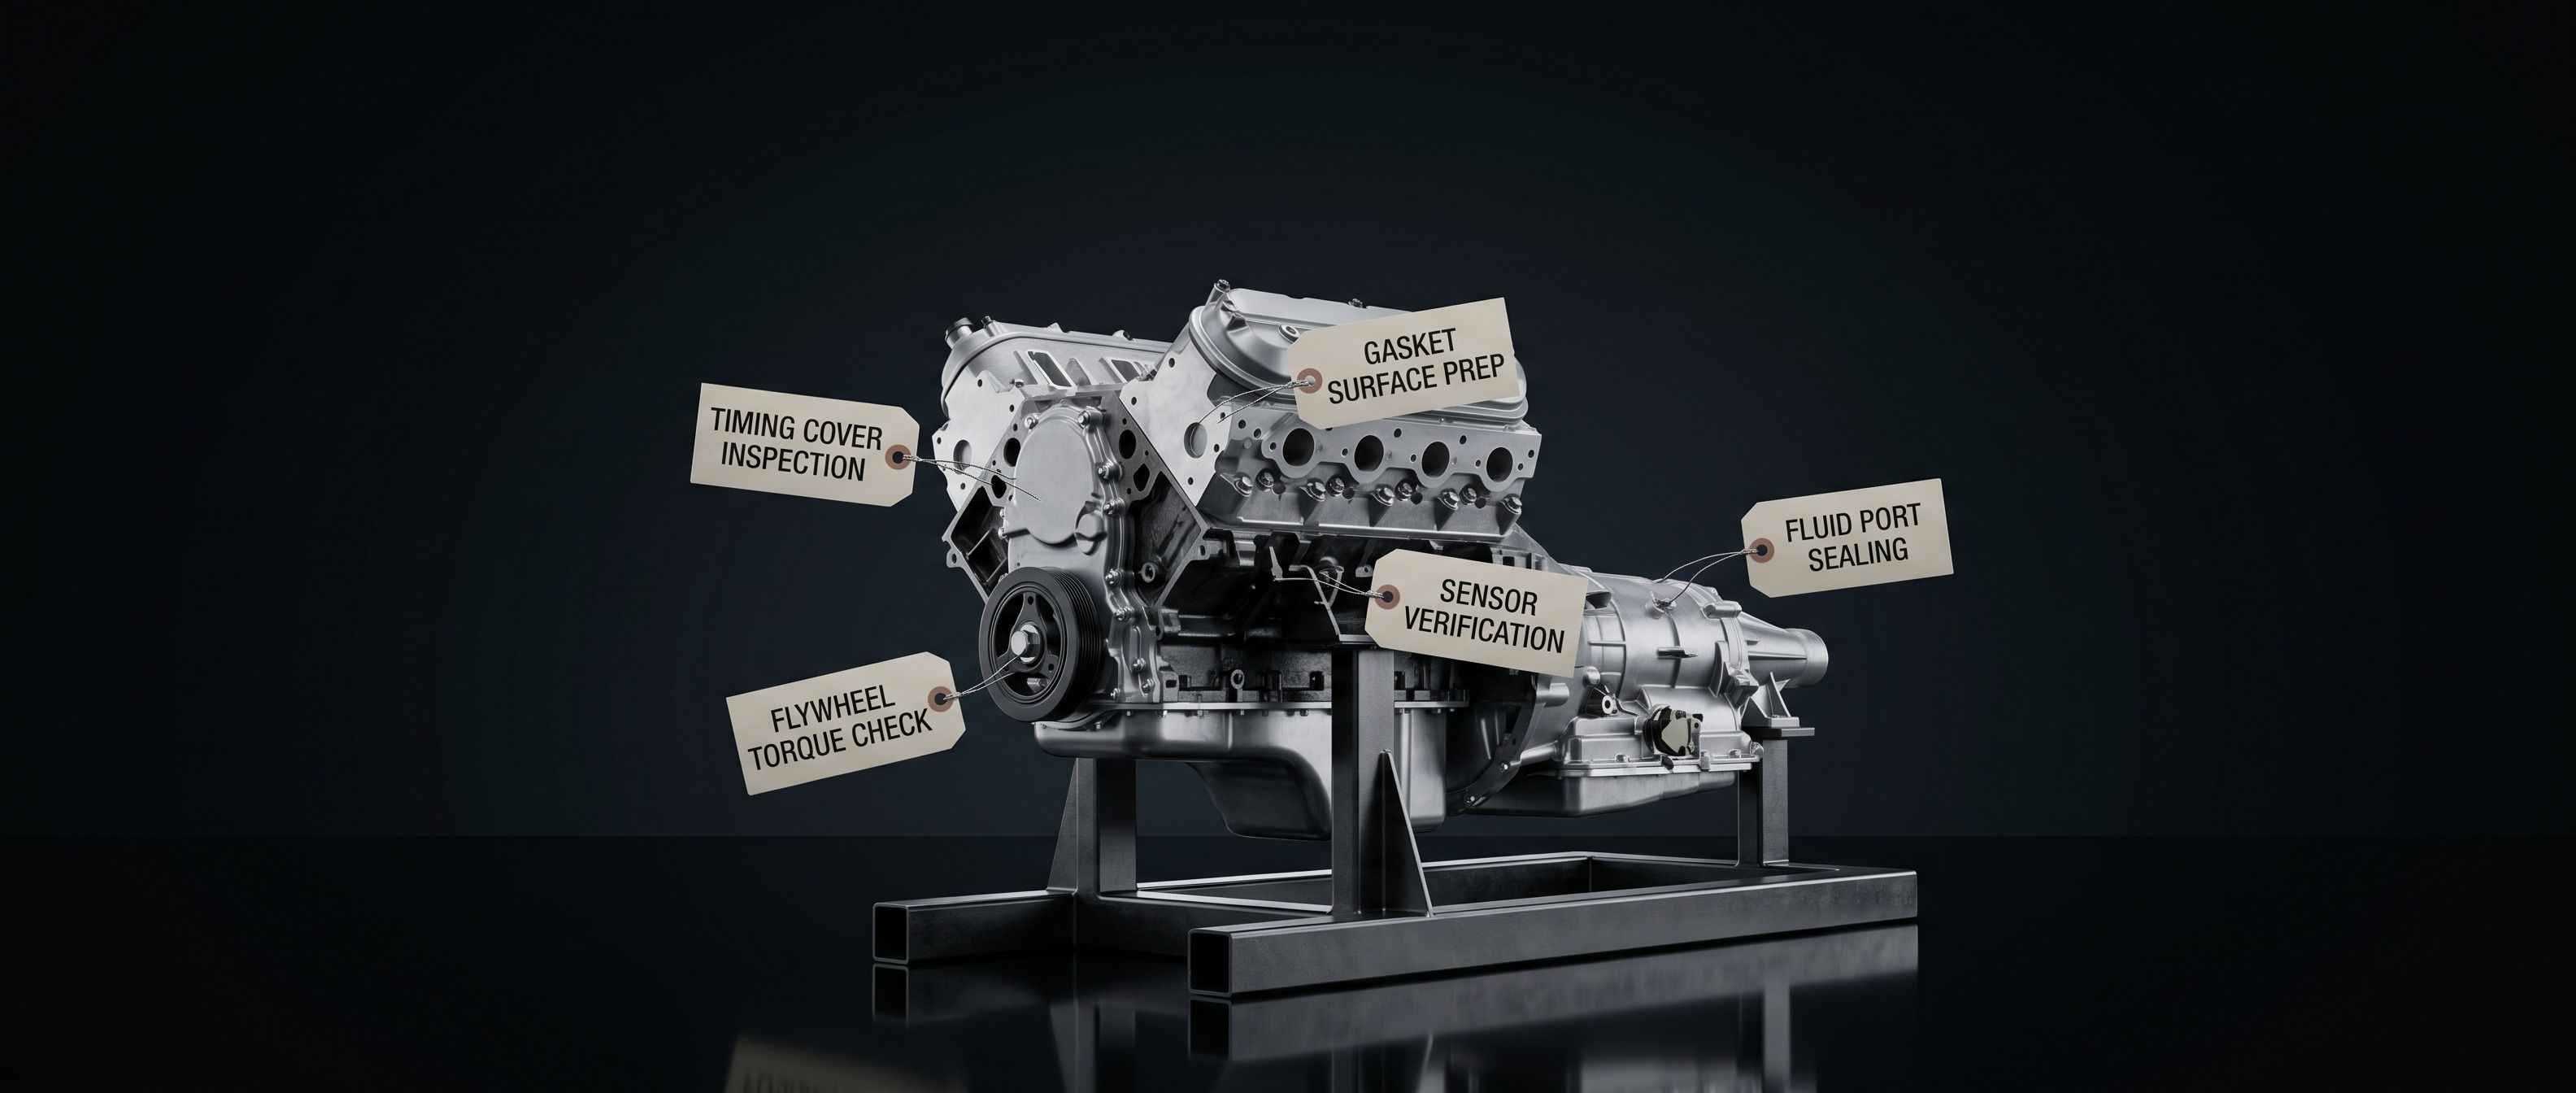
Before installing your used engine, complete every item on this checklist. This is not optional — failure to follow the pre-installation checklist can void your warranty and cause premature engine failure. Take your time and do it right.
PRE-INSTALLATION CHECKLIST
1. Identify the cause of the original engine failure. Before installing the replacement, determine why the original engine failed and make all necessary repairs. Installing a new engine into a vehicle with an unresolved underlying problem will cause the same failure to repeat.
2. Confirm compatibility. Verify that the replacement engine is compatible with your vehicle's year, make, model, and configuration.
3. Clear all computer diagnostic codes. Prior to installation, clear all stored diagnostic codes from the vehicle's computer system.
4. Inspect and replace all necessary gaskets and seals. This includes: front seal, rear main seal, valve cover gaskets, oil pan gasket, and pickup tube O-ring. Apply appropriate sealant on any crankshaft bolts drilled through to the oil gallery to prevent leaks.
5. Install a new thermostat and thermostat gasket. This is a warranty requirement and a critical step. Do not skip it.
6. Remove all cap plugs and orifice covers from the new engine. These are shipping plugs — they must be removed before the engine is started.
7. Replace all hoses, clamps, and belts, including the timing belt. Also replace the water pump at this time.
8. Install new spark plugs and spark plug wires.
9. Exchange the flywheel and flywheel bolts. Use the flywheel from your original vehicle.
10. Transfer all necessary accessory items. This includes: engine mounts, intake manifold, exhaust manifold, distributor, and sensors.
11. Prime the oil system BEFORE the first start. Disable both the fuel system and ignition system before attempting to start the engine. Crank the engine until oil pressure registers on the gauge. This allows the oil to circulate through the engine before initial startup. This step is critical — skipping it can cause immediate lubrication damage.
12. Replace all fluids and filters. Change the oil, oil filter, air filter, fuel filter, and coolant. Flush the cooling system completely before filling with fresh coolant.
13. Drain any excess oil and coolant from the exhaust system before starting.
14. For engines equipped with an oil cooler: Replace the radiator or external oil cooler. A contaminated cooler can damage a new engine.
AFTER INSTALLATION
Before operating the vehicle, verify that the oil pressure gauge, oil temperature gauge, speedometer, and odometer are all functioning correctly. These gauges must be in proper working order at all times to maintain warranty coverage.
Keep all service records from this installation. Records from an authorized shop are required for any future warranty claim — personal or handwritten notes are not accepted.
Questions before you get started? Call us at 1-844-XPARTS-1, Monday–Friday 9am–7pm EST or Saturday 11am–4pm EST.


